2026-09-16 · 8 min read · Bay Area
How to Prepare Your Home's Entrance Before Listing
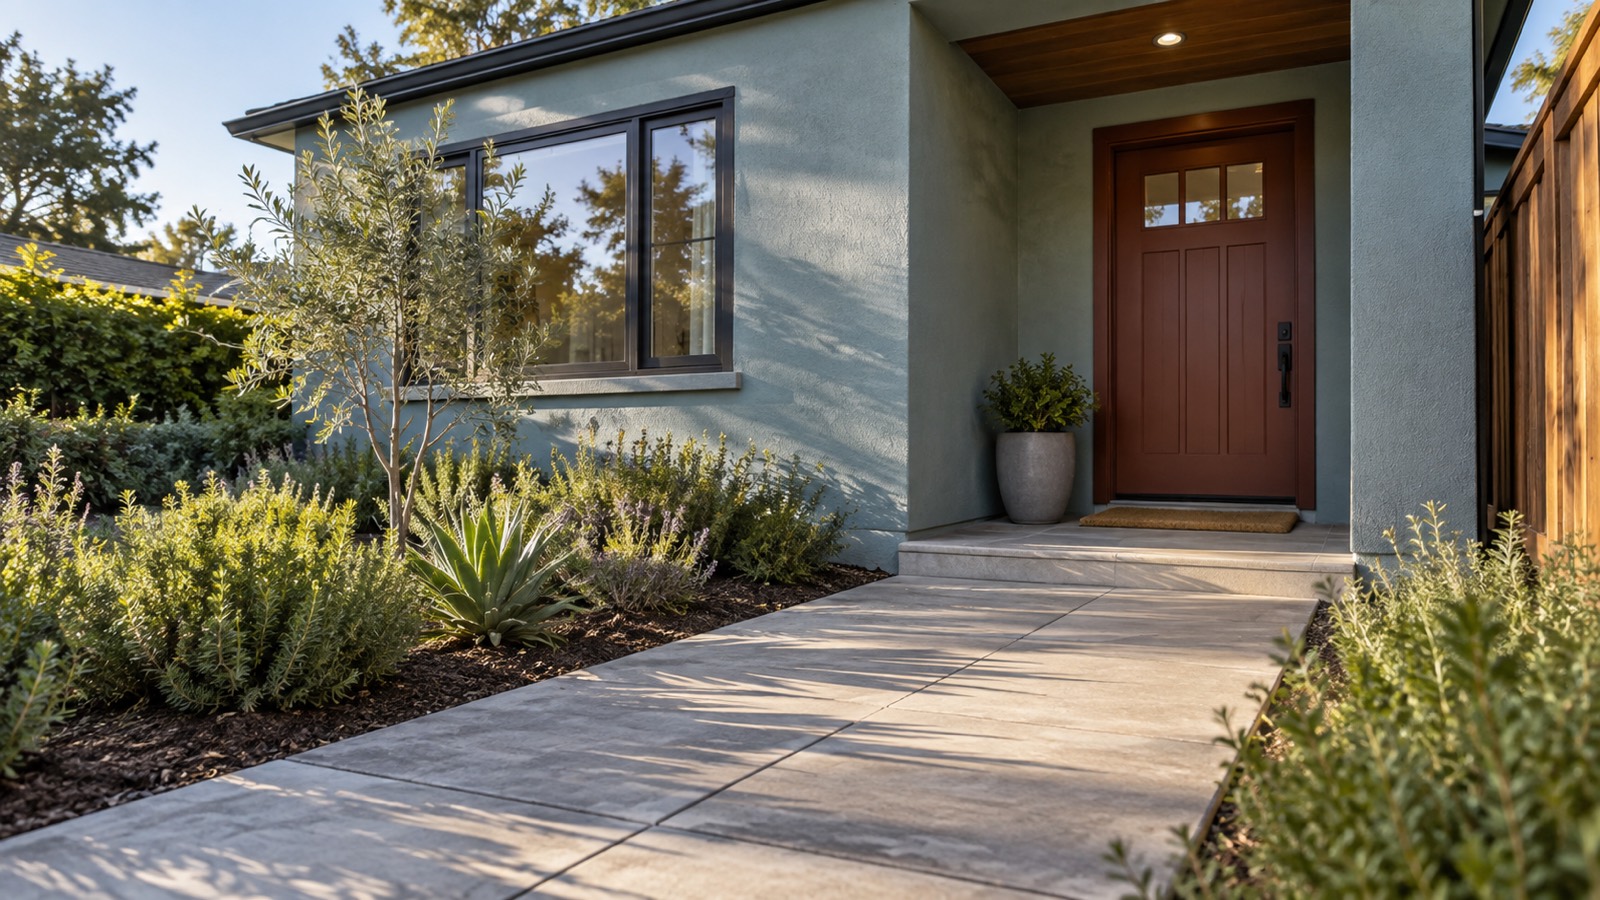
Your listing starts before the front door
A buyer does not begin experiencing your home in the living room. The experience starts at the curb, sidewalk, driveway, shared hallway, or gate. Then it continues along the route to the front door.
That route can quietly create questions. Is the entrance easy to identify? Does the path feel maintained? Is there enough room to pause at the door? Are packages, bins, shoes, hoses, or plants making the space harder to understand?
You do not need to rebuild the front of the property. You need to make the entrance clear, cared for, and consistent with the home a buyer is about to see. At Crypton Realty, I treat this as part of the listing plan, not as a last-minute decorating task.
Walk the full arrival route
Start where a visitor would normally arrive. Walk toward the entrance without carrying anything or correcting anything along the way. Notice the route as it is.
Look at the driveway edge, gate, steps, railings, walkway, porch, building corridor, elevator landing, and door. Check whether plants or stored items narrow the path. Notice loose mats, unstable planters, low branches, cords, uneven movable objects, and anything that makes someone change direction unexpectedly.
Then repeat the walk after dark if you can do so without entering a shared or restricted area. You are checking visibility and movement, not trying to create a dramatic nighttime scene. Add each concern to one list before you decide what deserves time or money.
Handle maintenance before decoration
A new planter will not solve a sticking gate, a loose handle, a burned-out fixture, or peeling material around the door. Start with function.
Test the door and gate as permitted. Check the latch, lock, handle, hinges, weather stripping, doorbell, visible light fixtures, and movable handrails. Look for dirt, cobwebs, damaged screens, loose trim, dead plants, standing water, and debris along the approach. If something needs repair, ask the right professional to evaluate it rather than guessing at the cause.
This is the same discipline I use in deciding what to fix before listing. Correct the condition that distracts from the home. Do not turn every imperfect surface into a replacement project.
Make the front door easy to read
The front door should look like the main entrance. That sounds obvious until a property has several gates, a side path, a recessed porch, or a door that blends into the wall.
Remove objects that compete with the door or block the landing. Keep the area where someone stands, turns, and opens the door clear. If the door has glass, clean both sides. If the hardware is worn or loose, decide whether maintenance or replacement belongs in the preparation plan.
Paint can help when a finish is visibly damaged or inconsistent, but color alone is not a strategy. Do not choose a project because a generic checklist says every seller needs a new front door. The condition of your entrance and the presentation plan for your home should drive the decision.
Edit what is visible from the doorway
Stand outside with the door open and look into the home. The first interior view may include a hallway, stairs, a wall, a coat area, or several rooms at once. That sightline belongs to the entrance plan too.
Remove excess shoes, coats, bags, delivery boxes, pet supplies, and seasonal items from the immediate view. Give the door enough clearance to open fully. Check whether furniture makes the path turn sharply or causes the entry to feel smaller than it is.
Do not empty the space until it feels unusable. The goal is to show how the entrance works. The guide to packing before listing your Bay Area home can help you separate daily necessities from items that can leave before photography and showings begin.
Use fewer objects outside
Entrance styling gets complicated when every surface carries something. One healthy plant may define a corner. Several small pots can turn into visual noise and make the landing harder to use.
Remove damaged containers, empty hooks, extra furniture, faded decorations, personal signs, and anything that blocks a fixture or architectural detail. Store package-delivery tools and loose garden supplies. Keep objects only when they support the scale and use of the entrance.
Personal information deserves a separate check. Look for names, unit details, school references, employer logos, security instructions, access codes, and labels that should not appear in listing photos or during public marketing. Remove or cover them without hiding a property condition.
Plan lighting for photos and showings
Exterior and entry lighting have two jobs during a listing. They help the photographer show the entrance, and they help visitors see the route when natural light is limited.
Confirm that visible bulbs and fixtures work. Replace mismatched bulbs only when that choice fits the fixture and a qualified person can do the work correctly. Clean accessible glass and remove debris around fixtures. Do not open electrical components or attempt repairs outside your skill.
Ask the photographer when the entrance will be photographed. The direction of light, deep shade, reflective glass, and automatic fixtures may affect the schedule. The broader guide to preparing a Bay Area home for listing photos explains why the property should be ready before the camera arrives.
Treat shared entrances differently
A condo, co-op, townhome, or other shared property may place part of the arrival route outside your control. The lobby, corridor, elevator, stairs, exterior gate, or common landscaping may be maintained by an association or another owner.
Do not move common-area furniture, signs, equipment, or decorations without permission. Do not paint, pressure wash, install hardware, or change a shared fixture because it appears in the route to your unit. Confirm what you may clean, repair, or photograph before making a plan.
Focus on the portion you control. Prepare your door, threshold, interior sightline, and personal belongings. If a common-area condition raises a question, review the applicable information and ask the association or appropriate contact instead of promising a change to a buyer.
Build a short showing-day reset
An entrance can look ready for photography and still collect daily clutter once the listing is active. Build a reset you can repeat without turning every showing into a major project.
Put shoes, bags, pet items, deliveries, and recycling in their planned places. Sweep visible debris when needed. Check the mat, door glass, working lights, and the first interior sightline. Make sure temporary storage has not migrated back into the path.
Keep the routine short enough to use. If preparing the entrance requires moving furniture, hiding several containers, and carrying daily items to another floor, the plan is too complicated. The article on planning showings while working from home uses the same idea. A repeatable system is more useful than a perfect setup you cannot maintain.
Connect the entrance to the full listing plan
Preparing your home's entrance before listing is not about chasing a generic version of curb appeal. It is about making the route into the home easy to understand and removing distractions that compete with the property.
The right work depends on the home. An Alameda porch, a San Francisco building corridor, and a suburban driveway do not ask for the same preparation. Compare the entrance with the rest of the presentation plan, the photography schedule, and the way showings will run.
Read how I approach selling a Bay Area home, see the plan for selling in Alameda County, and review the presentation step in my home-selling process. If you want a focused list before you start buying supplies or calling contractors, send me photos of the arrival route and your timeline. I will help you separate the useful work from the noise.