2026-09-13 · 8 min read · Bay Area
How to Prepare a Bay Area Home for Listing Photos
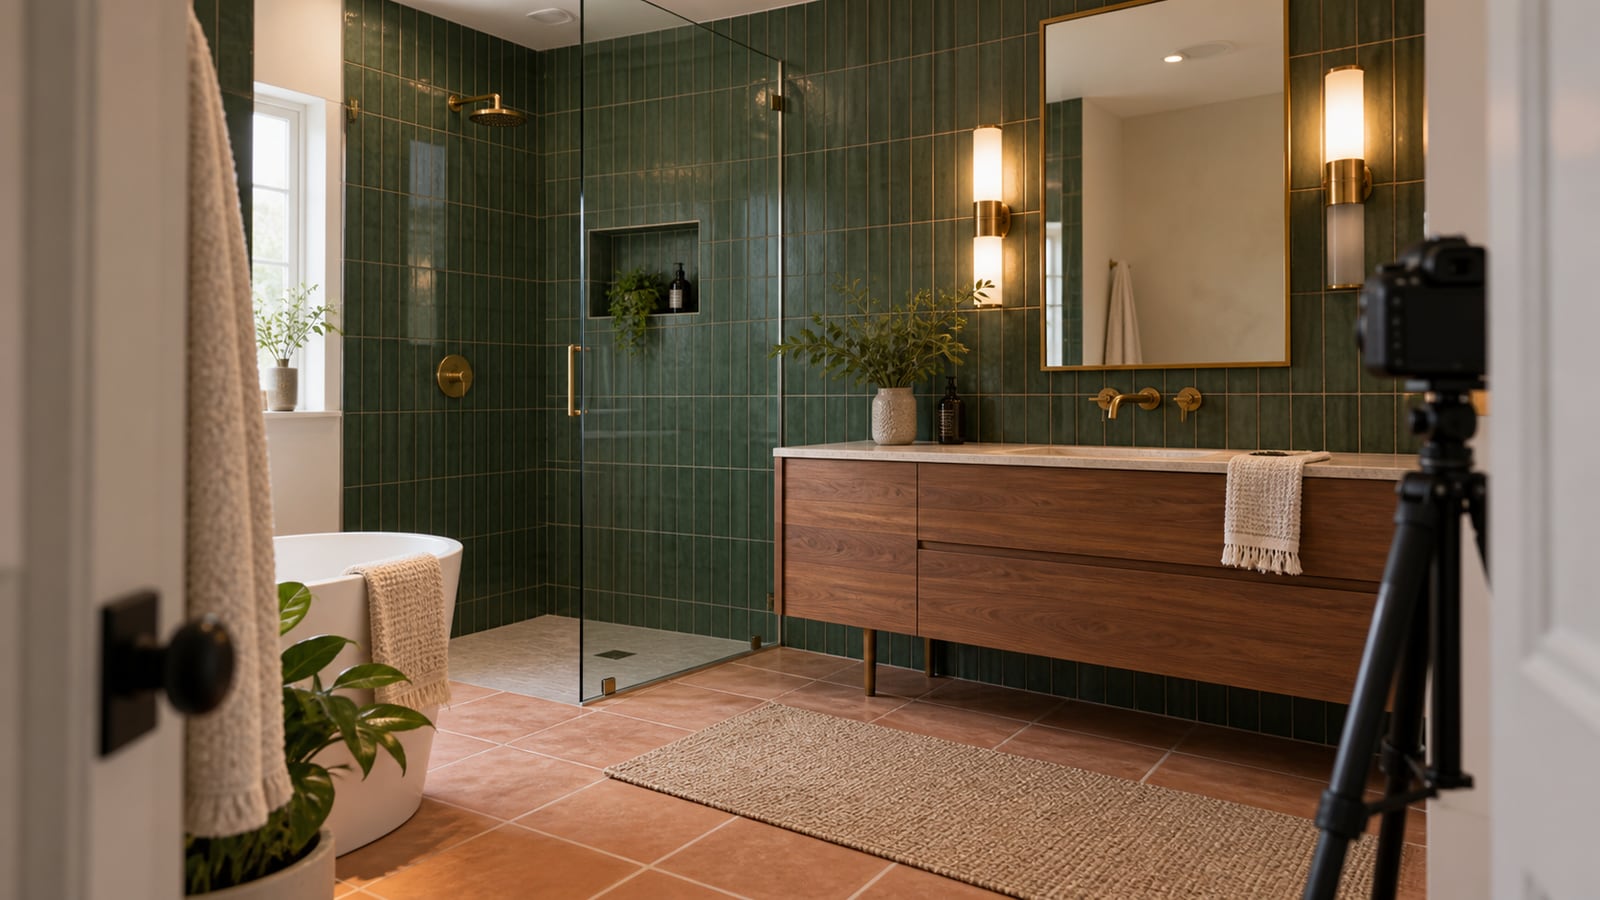
Photo day starts before the camera arrives
Listing photography is not a cleanup appointment. It is the point when the presentation plan becomes visible. If you try to make every decision while the photographer waits, you will hide things quickly, miss the angles that matter, and create more work for yourself afterward.
To prepare a Bay Area home for listing photos, start with a simpler question. What should a buyer understand about each room from the gallery? The answer may be the room's scale, connection to another space, natural light, storage, outdoor access, or a feature that is easy to miss during a fast scroll.
At Crypton Realty, I treat photography as part of the launch, not as proof that preparation is finished. The camera should record a clear plan that already exists in the home.
Give every room one clear job
A buyer should not need to pause over a photo to work out what a room is for. Give the space one clear use. A dining area needs a readable table zone. A bedroom needs enough visible floor and wall space to show the layout.
You do not need to stage every corner or buy furniture for an imagined lifestyle. The objects in the room should support its main use. Exercise equipment beside a dining table or storage spilling into a hallway can make the space harder to read.
Read what to fix before you list before moving furniture. A photo plan cannot repair a condition issue, and a repair plan should not grow out of photo-day panic.
Clear the sightline, not the whole house
Many sellers hear declutter and assume every surface must be empty. That can leave a home looking stripped. Aim for a clean sightline through the room and toward the feature the photo needs to explain.
Stand in each doorway and at the room's far corner. A tall chair may cut across a fireplace. A floor lamp may hide a window. Moving one item can do more than clearing a whole shelf.
Use what to pack before listing for excess belongings and personal items. Do not fill a garage, spare room, balcony, or shower with everything removed from the first angle. Those spaces may need photographs too.
Clean for the lens and the light
A camera notices repeated marks and reflective surfaces. Dust on a dark table, fingerprints on an appliance, streaks on glass, and water spots on a mirror may be small in person. In a still image, they can hold the eye.
Clean windows, mirrors, counters, appliance fronts, shower glass, floors, baseboards, and visible fixtures. Check the corners where a wide photograph can include more of the room than you expect.
A clean surface does not need extra decoration. Trays, folded towels, bowls, and small accessories can turn a useful surface into visual noise. Keep pieces that help with scale or make the room's use clear.
Make the lighting consistent
Check every bulb before photo day. Replace burned-out bulbs and look for fixtures in the same room that produce different colors. One orange lamp beside a blue-white ceiling light can make walls and finishes look uneven.
Adjust window coverings to match the photographer's plan. Remove temporary items from window ledges. If a shade is damaged, a cord is tangled, or a curtain blocks the opening, decide how to handle it before the first angle is set.
Editing cannot solve every lighting problem. The room still needs working fixtures, clear windows, and a consistent presentation. Your job is to prepare the conditions. The photographer's job is to capture them.
Show storage without creating a storage problem
A pantry, built-in cabinet, walk-in closet, or organized garage area may help explain the property. If a feature could appear in the gallery, prepare the visible shelves, floor, doors, and path to it.
Do not pack shelves so tightly that their size becomes hard to see. Leave enough open space for the storage shape to read clearly.
Ask which closets and cabinets are likely to be photographed instead of emptying every one. Laundry areas, utility spaces, and garages do not need decoration. They need access, order, and a clear view of what belongs to the property.
Prepare the route outside the front door
Exterior photography starts before the photographer reaches the front door. Walk the route from the public approach to the entry. Put away trash bins, hoses, tools, delivery boxes, loose toys, and temporary equipment that you can move safely and that does not belong in the presentation.
Check the door, porch, steps, railings, visible windows, outdoor lights, and the ground immediately around the entrance. Sweep the hard surfaces. Remove dead leaves and loose debris. Straighten movable furniture only if it helps show the usable space.
Do not hide a condition or make a change you are not allowed to make. Shared hallways, association areas, sidewalks, neighboring property, and public space are not yours to rearrange. Prepare the part you control, then let the photographer frame the property honestly.
Remove private information before anything is photographed
A listing gallery can be copied, shared, and viewed long after photo day. Remove family photographs, mail, school material, medication, calendars, work screens, access codes, certificates, device labels, and anything else that reveals information you do not want online.
Look closely at mirrors, glass doors, glossy appliances, and dark screens. Reflections can include a person, a room you meant to keep private, or information sitting outside the planned frame. Check what appears behind the camera position as well as what sits in front of it.
Keep valuables and sensitive records in a secure place outside the photography and showing areas. A drawer is not a privacy plan if that drawer may need to be opened later. Privacy preparation belongs in the same plan as cleaning and furniture placement.
Do one final walkthrough in camera order
Finish preparation before the appointment, then walk the home in the likely photo order. Start outside, move through the entry and main rooms, then finish with secondary spaces. This catches items moved out of one frame and left in the next.
Carry a small basket for cords, remote controls, pet supplies, cleaning products, toiletries, dish racks, floor mats, and daily items. Move the basket out of the property or into a confirmed place that will not be photographed.
Then stop. Do not keep adding accessories or moving furniture once the room reads clearly and the route is open. Leave room for small angle adjustments without rebuilding the home.
Make the photo plan part of the Bay Area launch
A good gallery cannot promise a sale, and it cannot turn the wrong preparation or pricing decision into the right one. Its job is narrower and important. It should help a buyer understand the home well enough to want a closer look.
That is why photography belongs inside the larger home-selling process. The preparation, room plan, photo list, copy, and launch timing should support the same position. Read how I help Bay Area sellers prepare and launch and what the opening days on market decide.
If you are preparing to sell and the task list already feels endless, send me a few current photos of the home. I will help you separate what the camera needs from what can stay exactly as it is.