2026-09-04 · 8 min read · Bay Area
What to Pack Before Listing Your Bay Area Home
Packing before listing has a different job
Packing to move and packing to sell are not the same project. When you pack for a move, you are trying to get everything safely from one address to another. When you pack before listing your home, you are trying to make the space clear, calm, and easy for a buyer to understand.
That difference matters. If you remove too little, rooms can feel crowded and buyers may struggle to see the layout. If you remove too much, the home can stop working for you while you still live there. The right plan sits in the middle.
At Crypton Realty, I treat this as part of positioning, not a cleaning assignment. This guide explains what to pack before listing your home in the Bay Area, what to leave, and how to avoid turning the weeks before launch into chaos.
Start with the buyer's view of the room
Do not begin with the question, "What can I live without?" Begin with, "What is stopping this room from making sense?" Those questions produce different choices.
A chair blocking a natural walkway matters more than a full bookshelf against a clean wall. A row of small appliances across a kitchen counter matters more than one large item that clearly belongs there. A room does not need to look empty. It needs to show its purpose, its scale, and the way someone moves through it.
Take a photo from the doorway before you pack. The photo flattens the scene and makes visual interruptions easier to spot. Look for piles, cords, crowded surfaces, extra furniture, and anything that pulls attention away from the room itself. Pack those items first.
Pack privacy and valuables before decor
Your first boxes should protect you, not impress a buyer. Remove financial records, medication, jewelry, passports, spare keys, devices with personal data, mail, work papers, and anything that reveals private account or travel information. Put them in a secure place outside the showing area.
Family photos and personal collections come next. You do not need to erase every sign that a real person lives in the home. You do need to remove anything you would not want photographed, shared online, or noticed during a showing.
This step should happen before photography and stay in place through the showing period. Do not rely on a drawer that a visitor could open by mistake. Keep sensitive items with you, in secure off-site storage, or in another location you have chosen for that purpose.
Clear the entry and living areas first
The entry sets the visual pace for the rest of the home. Pack seasonal shoes, extra coats, bags, sports equipment, delivery clutter, and anything that narrows the path from the door. Leave only what you need for the current week.
In living areas, remove furniture that interrupts the main route or hides a useful feature. Pack extra throws, small decor, stacked magazines, duplicate lamps, and collections spread across several surfaces. Keep enough furniture to explain the room. The goal is not a vacant room unless the presentation plan calls for one.
Before moving heavy pieces, coordinate the room plan with your agent or stager. The broader pre-listing repair and preparation plan should happen in the same order. Otherwise you can move the same furniture several times and create more work.
Give the kitchen visible work zones
A kitchen counter should show where food preparation happens. Pack duplicate appliances, specialty tools you rarely use, bulk supplies, extra dishware, and decor that occupies useful counter space. Leave the few items you use every day and give each one a fixed place.
Cabinets do not need to be empty. They should open without items falling forward or hiding the available depth. Pack oversized serving pieces, duplicate cookware, seasonal dishes, and pantry inventory you will not use before the move. Group what remains so shelves look functional rather than stuffed.
Do not create a kitchen you cannot maintain. If every morning requires unpacking a coffee maker and every night requires rebuilding the counter, the system will fail. Keep daily tools accessible, then create one quick routine for putting them away before a showing.
Make bedrooms calm and closets readable
Bedrooms collect items that have no other home. Pack off-season clothing, luggage, spare bedding, exercise equipment, stacks of books, and furniture that reduces clear floor space. Keep the bed, useful lighting, and the pieces that explain how the room functions.
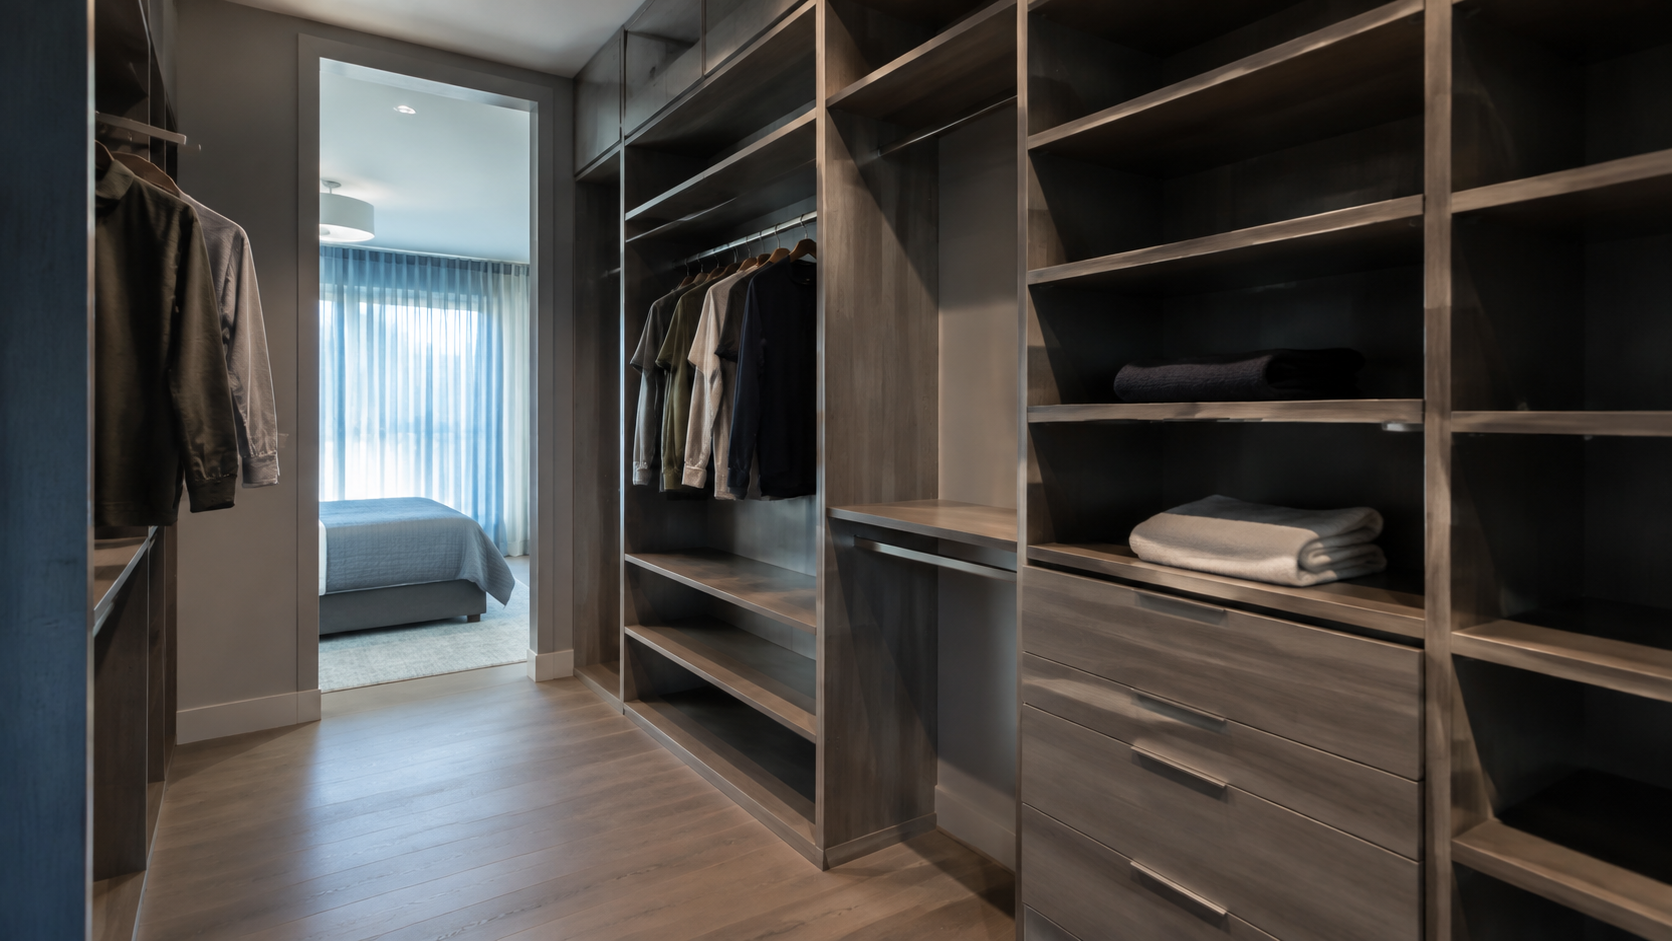
Closets deserve a separate pass. Buyers need to see the width, depth, shelving, and hanging space. Pack clothing you will not wear soon, empty the floor where possible, and remove overfilled organizers that hide the built-in storage. Leave a restrained working wardrobe rather than rows packed tight from end to end.
Do not transfer closet overflow into the garage without a plan. You are not removing clutter if you move it into another part of the property. You are moving the problem.
Create access in the garage and utility spaces
Garages and utility areas often become the landing place for everything removed from the house. That solves one room and damages another. Buyers may need to see walls, storage, equipment, access points, and the usable floor area.
Pack loose supplies into plain, sturdy containers with private labels facing away or removed. Keep a clear route to electrical panels, water heaters, heating and cooling equipment, and other systems. Do not cover a condition issue or block access to something a buyer or inspector may need to see.
If you use off-site storage, decide what goes there before boxes fill the garage. Items you will not need before the move are good candidates. Daily tools, emergency supplies, and anything needed for the home should remain accessible and organized.
Keep daily life working with a small kit
You still need to live in the home after you pack. Build a small keep-out kit for each person instead of reopening boxes every night.
Include the clothing, work items, chargers, toiletries, medication, pet supplies, and basic kitchen items you expect to use. Add a cleaning kit and a small repair kit for the home. Keep the containers compact enough to place out of sight when needed.
Then make a departure checklist. Put away the daily kits, clear sinks and counters, remove trash, set window coverings to match the presentation plan, and check lights as directed. Keep the checklist factual and short. The purpose is to leave without a last-minute argument about who forgot what.
Finish with a room-by-room decision
Walk the property one final time from the front door. For each room, ask three questions. Can I understand the room's purpose? Can I move through it without avoiding furniture or belongings? Can I see the storage and features that belong to the home?
If the answer is yes, stop packing that room. More removal is not automatically better. If the answer is no, identify the one item or group creating the problem and deal with that first. Remove obvious excess before the presentation plan is set, then make a focused second pass for the final layout and photography.
Your packing plan should make the launch easier, not make your life miserable. The home-selling process and my listing launch framework give each preparation task a reason. Read what the opening days on market decide and how I help Bay Area sellers prepare and launch. If you want a room-by-room plan before you start moving boxes, send me a few photos and your timeline. I will tell you what I would pack first.